I used to think roasting was the only way to get Brussels sprouts right. You know—those golden, crisped-up little leaves straight from the oven, practically begging for balsamic. But then came one weeknight dinner rush, the oven already full, and I tossed the halved sprouts into a hot skillet out of sheer impatience.
That accidental experiment? A total win.
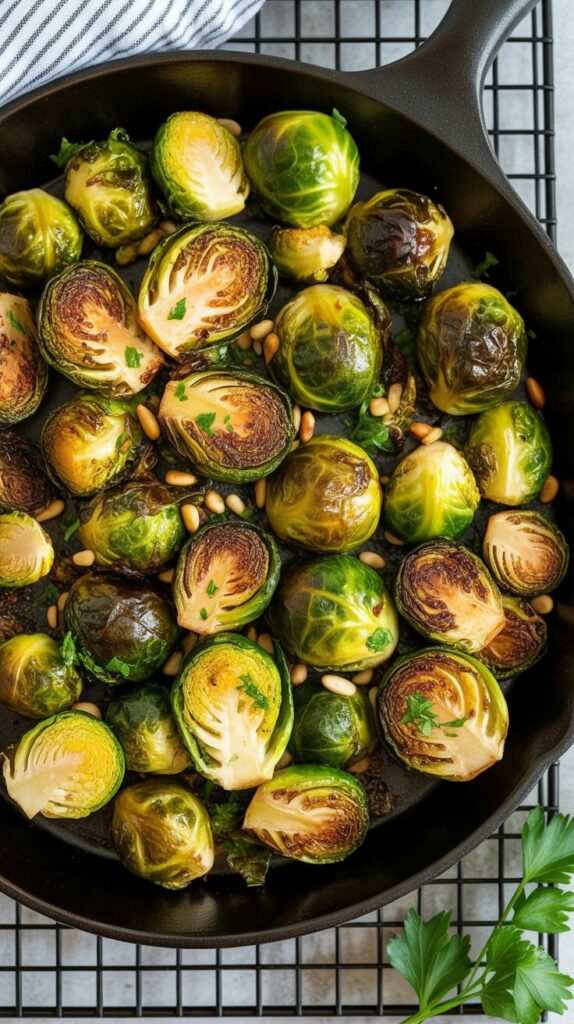
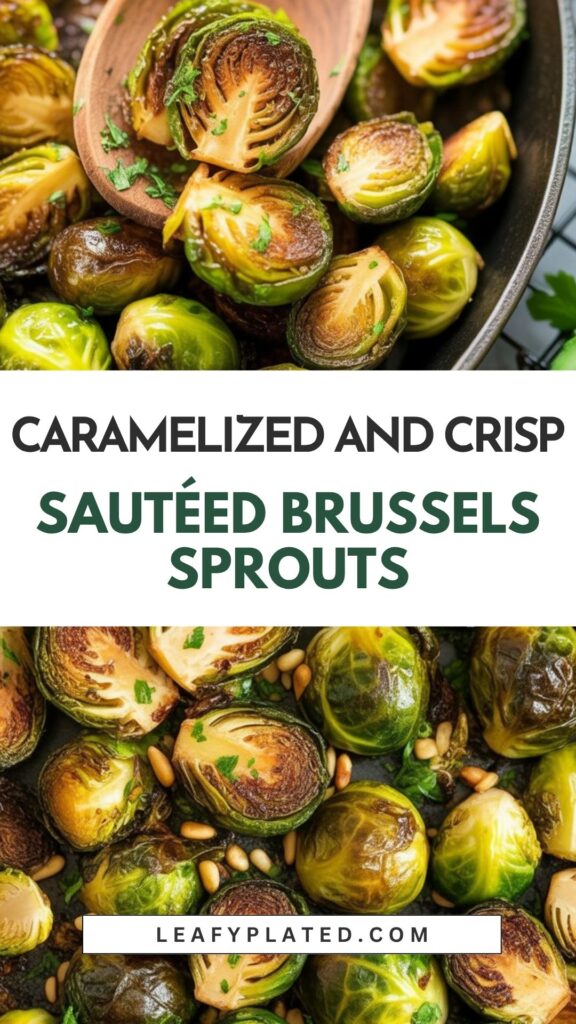
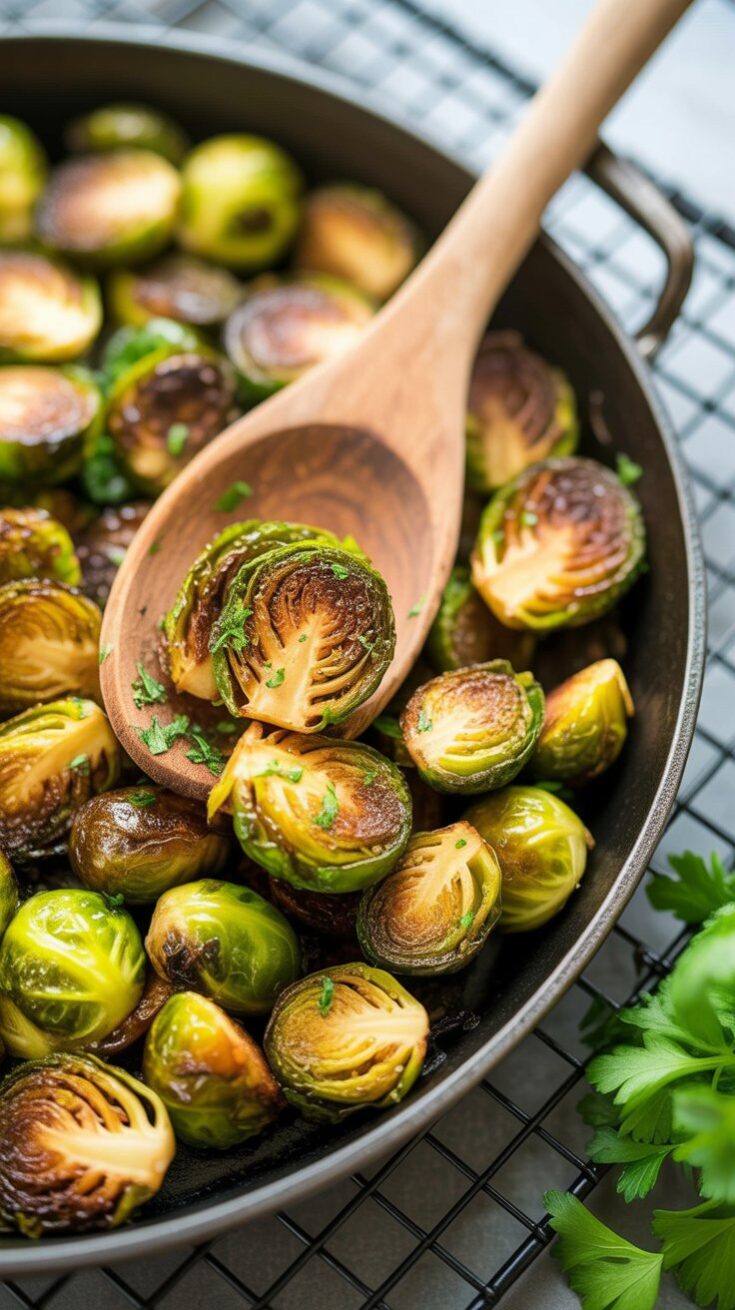
These sautéed Brussels sprouts have become my go-to ever since. They’re charred on the edges, tender in the middle, and way faster than firing up the oven. If you’ve ever stared at a bag of Brussels sprouts and thought, “I should eat more greens…but I want it to taste good too,” this one’s for you.
Why This Recipe Just Works
There’s something incredibly satisfying about getting crispy edges and a caramelized finish without waiting 40 minutes. A hot pan, some olive oil, and a pinch of salt—that’s really all it takes to turn Brussels sprouts from “meh” to “more, please.”
And the best part? You can keep it simple or dress it up depending on your mood. Some days I just add a splash of balsamic and call it dinner. Other times I go all out with toasted pine nuts or crispy bacon bits if I’ve got some leftover from breakfast.
Whether you’re cooking for yourself or trying to convert a Brussels sprout skeptic in your house, this recipe is a solid bet.
What You’ll Need
- Brussels Sprouts – Look for firm, tight little green globes. If they’re yellowing or soft, skip them. I usually halve them lengthwise so they get flat edges that crisp up beautifully.
- Olive Oil – A decent drizzle is your best friend here. Don’t skimp or the sprouts will steam instead of sizzle.
- Kosher Salt & Black Pepper – A few pinches during cooking and a final toss at the end make all the difference.
- Acid – I reach for balsamic vinegar most days, but lemon juice works great too. A little tang balances the richness.
- Add-ons (if you’re feeling it): parmesan, herbs, nuts, crispy bacon—whatever’s hanging out in your fridge or pantry.
How I Make It (And You Can Too)
- Start with a hot pan – I use my old cast iron skillet. Heat olive oil over medium-high until it shimmers.
- Add the Brussels sprouts – Cut-side down. Leave them alone for a few minutes so they get that nice browning.
- Season and stir – Once they’re caramelized, stir them around, sprinkle in salt and pepper, and let them finish cooking.
- Finish with acid – Off the heat, I splash in balsamic or lemon juice. It wakes everything up.
- Optional extras – A handful of nuts, a little parmesan, or chopped herbs right before serving. Totally your call.

Trimming Tips (No Fuss)
Give your sprouts a rinse, especially if they’re straight from the farmer’s market. Trim off the woody bottom stem, peel off any ragged leaves, and slice them in half. That’s it. You’ll be surprised how quickly it goes once you get in the rhythm.
Sautéed vs. Roasted: My Honest Take
If I’ve got time and want that roasted tenderness all the way through, I’ll use the oven. But for everyday meals—or when the oven’s already busy with something else—the stovetop wins. You get that same toasty edge with a firmer center and less wait.
Some days I even do both. Roast one batch, sauté another, then mix them up with feta and toasted nuts for a salad. Don’t be afraid to mix and match.
Easy Variations I Use All the Time
- With Bacon – Cook a few slices in the pan first, then use the drippings to sauté the sprouts. Crumble the bacon on top before serving.
- With Herbs – A handful of chopped parsley or mint just before serving adds a nice freshness.
- With Cheese – A sprinkle of parmesan or goat cheese takes these over the top.
- With Onions – Thinly sliced red or yellow onions tossed in with the sprouts caramelize beautifully.
- With Nuts – Pine nuts, walnuts, pecans—just toast them in the hot pan with the finished sprouts for a toasty crunch.
How I Store & Reheat Them
- In the Fridge – Leftovers keep well for 3–4 days in an airtight container. I sometimes make a double batch and toss them into grain bowls or wraps throughout the week.
- To Reheat – I use a skillet with a splash of olive oil or balsamic. Microwave works too, but it softens the edges. For best texture, use the oven at 350°F for 5–8 minutes.
- Freezer? – I personally don’t freeze sautéed sprouts. They get a little sad and soggy. But if you’re meal-prepping and need to, let them cool completely and store in freezer-safe containers for up to 2 months.
Sautéed Brussels Sprouts
Crispy on the outside, tender in the center, and full of flavor—these sautéed Brussels sprouts are the kind of side dish that steals the show. Whether you’re prepping a weeknight dinner or dressing up a holiday table, this easy stovetop method brings out their natural sweetness with a rich, caramelized edge. No oven required!
Ingredients
- 2 tablespoons extra virgin olive oil
- 1 pound Brussels sprouts, trimmed and halved
- ¼ teaspoon ground black pepper
- ½ teaspoon kosher salt
- 1 tablespoon balsamic vinegar or fresh lemon juice
- 1 to 2 tablespoons chopped raw walnuts, almonds, pecans, or pine nuts (optional)
- Fresh herbs like parsley, mint, or cilantro, chopped (optional)
- A sprinkle of Parmesan, goat cheese, or feta (optional)
Instructions
- Set a large cast iron skillet or any heavy-bottomed pan over medium-high heat and let it heat for about 4 minutes. Drizzle in the olive oil and let it shimmer—make sure it’s hot but not smoking.
- Toss in the Brussels sprouts, placing them cut-side down as much as possible for that perfect sear. Let them cook undisturbed for 5 to 8 minutes, allowing the cut sides to caramelize to a deep golden brown.
- Once they’re nicely seared, season with salt and pepper. Stir them gently with a spatula or wooden spoon, then continue to sauté for another 6 to 8 minutes, stirring occasionally, until they’re tender in the center and crisped all over.
- Take the skillet off the heat and splash in the balsamic vinegar or lemon juice. If using, add your choice of nuts—let the residual heat gently toast them while you stir to keep them from burning. If the pan isn’t hot enough to toast the nuts, return it to low heat briefly.
- Transfer the Brussels sprouts to a serving dish, and if you like, top with fresh herbs and a crumble of cheese for extra flair. Serve hot and enjoy!
Notes
- Fridge: Store leftovers in an airtight container for up to 4 days.
- Reheat: Warm in a skillet over medium-low heat or microwave until heated through. Add a fresh splash of lemon or vinegar if needed.
- Freezer: Not ideal, as texture may suffer, but you can freeze for up to 12 months in an airtight container. Thaw overnight before reheating.
Nutrition Information
Yield
4Serving Size
1Amount Per Serving Calories 239Total Fat 18gSaturated Fat 4gTrans Fat 0gUnsaturated Fat 13gCholesterol 11mgSodium 306mgCarbohydrates 16gFiber 4gSugar 5gProtein 8g
Leafyplated.com, occasionally offers nutritional information for recipes contained on this site. This information is provided as a courtesy and is an estimate only. This information comes from online calculators. Although Leafyplated.com attempts to provide accurate nutritional information, these figures are only estimates.
A Few Questions I’ve Been Asked
Can I use frozen Brussels sprouts?
Not for this recipe. They release too much water and don’t crisp up properly. Fresh is the way to go for that golden finish.
What’s the best pan for this?
I always use my cast iron. Stainless steel works too. Just avoid nonstick—it doesn’t brown as well.
Can I make this in advance?
Totally. Cook them, cool them, and reheat right before serving. Just don’t add toppings (like nuts or cheese) until you’re ready to eat.
Do kids actually eat this?
Mine do—but only when they’re crispy and have something fun like cheese or bacon mixed in. Let them help with the prep and they’re more likely to try it.
Let me know if you give this a go or tweak it your own way—I’m always up for new sprout ideas. This little skillet shortcut has been saving my weeknights lately, and I hope it helps you squeeze more veggies into yours too.
Try Other Brussels Sprouts Recipes:
")