If you’ve ever bitten into a gluten-free brownie and thought, “Where’s the fudge? Where’s the chew?”—I’ve been there too. That’s why I kept tweaking this recipe until the texture hit that perfect sweet spot: soft, gooey, and packed with deep chocolate flavour.
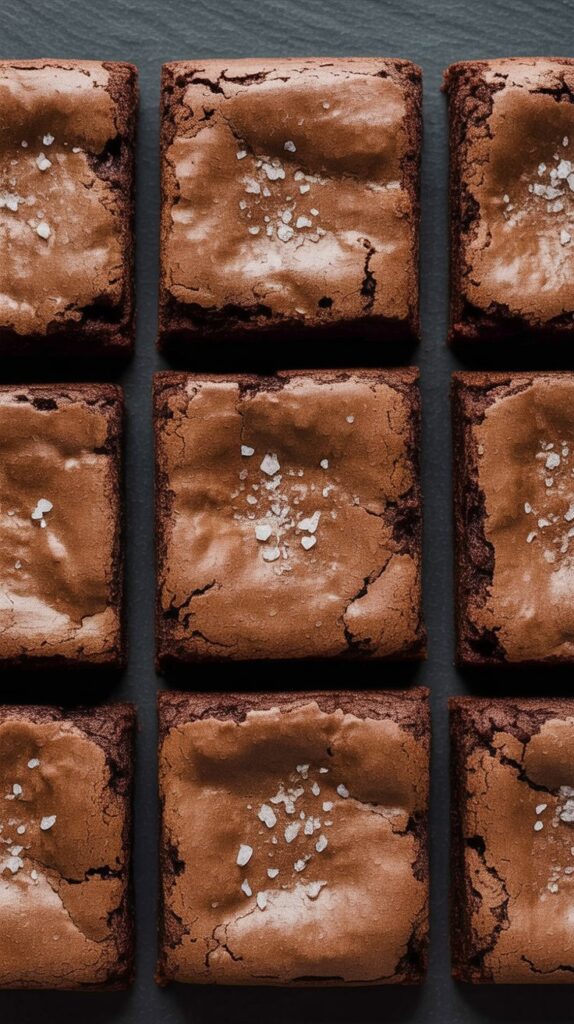
These brownies aren’t just “good for gluten-free.” They’re just plain good. Think shiny crackly tops, a rich cocoa punch, and that satisfying chew that clings just a little to your teeth. Whether you’re celiac or just trying to bake without wheat, this is the kind of brownie you’ll come back to.
What Makes These Brownies Worth Baking Again
I’ve tested more gluten-free brownie recipes than I can count, and so many of them missed the mark—either dry, too cakey, or somehow lacking that deep chocolate flavor. But this one? It hits every note just right. Here’s why:
- That glossy, crackled top – Honestly, this is what makes a brownie look irresistible.
- Deep chocolate flavor – We’re using both melted chocolate and cocoa powder. Trust me, it’s worth it.
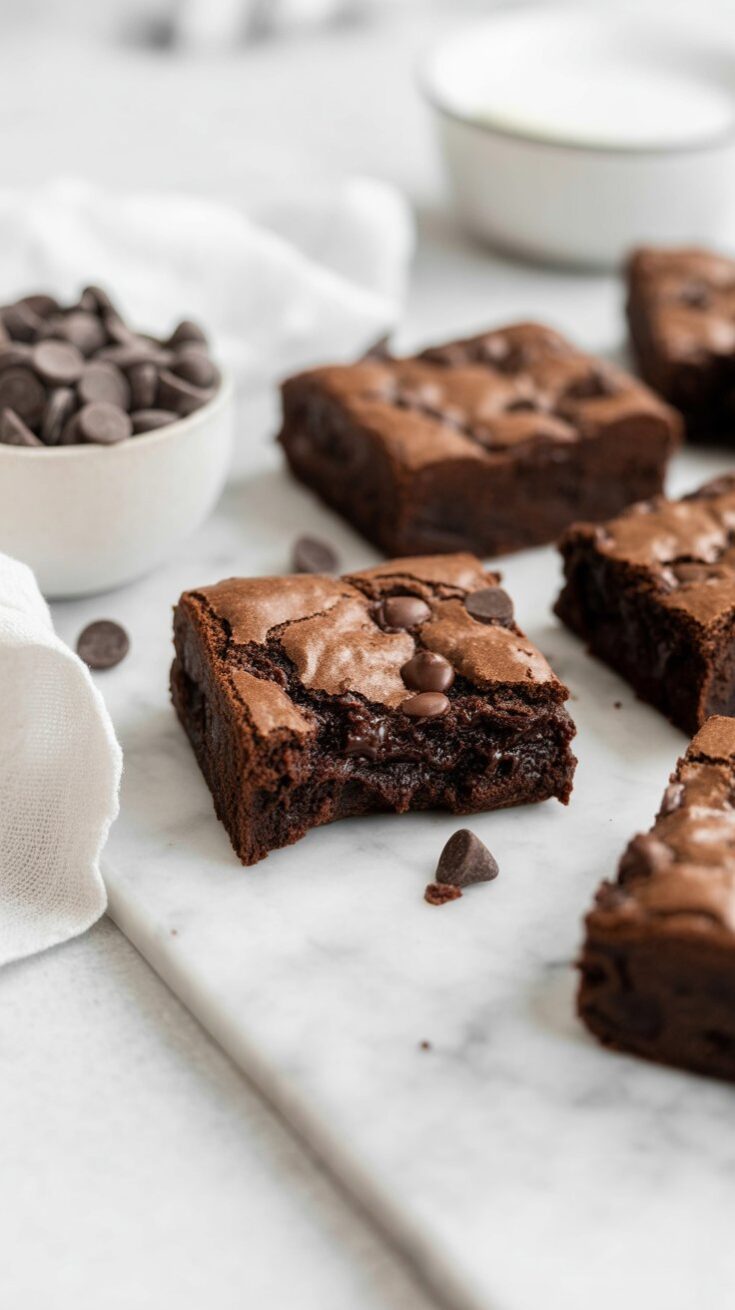
- Fudgy texture – These aren’t fluffy or light. They’re rich, dense, and chewy in all the best ways.
- One bowl, no mixer – I’m all for a low-mess situation in the kitchen.
- Simple ingredients – No weird gums, no specialty health-store flours.
And if you’re wondering, yes—I’ve fed these to people who had no idea they were gluten-free. The pan was empty in minutes.
My Go-To Ingredients (and Why They Matter)
This is one of those recipes where the quality of your ingredients really shows. You don’t need anything fancy, but here’s what I swear by:
- Cocoa Powder – I’ve tried both natural and Dutch-processed in this recipe. Dutch gives a deeper, almost espresso-like richness, but natural cocoa has that nostalgic, old-school brownie taste. Both work. Use what you love.
- Gluten-Free 1:1 Baking Flour – I always keep King Arthur’s blend on hand because it already has xanthan gum and gives structure without any grittiness. If you’re using a different brand, check the label to see if xanthan is included.
- Butter – I know some recipes call for oil, but I always go with butter here. It adds flavor, not just fat, and gives that tender bite you want in a fudgy brownie.
- Chocolate Chips – I love using Guittard semi-sweet chips. The quality really does make a difference. Cheap chips can give a waxy aftertaste, and no one wants that in a brownie.
- Eggs – You’ll need two whole eggs plus an extra yolk. That extra yolk makes the batter richer and helps create the fudgy texture we’re going for.
If you’re looking for dairy-free or egg-free swaps, this isn’t the best base recipe. I’d suggest using a different one that’s built for that from the start—I’ve tried subbing vegan butter here and it never sets right.
Let’s Bake – Step-by-Step
Even on a busy weekday, I can whip these up after dinner while my kid’s brushing his teeth. They’re that easy.
- Melt chocolate and butter
Toss them in a microwave-safe bowl and heat at 50% power, stirring every 30 seconds until smooth. Or do it old-school on the stovetop over low heat. Either way, don’t rush—burnt chocolate is the worst. - Whisk in sugar, vanilla, and salt
While the mixture is still warm (but not scalding), whisk in the sugar until it dissolves as much as possible. This step helps you get those glossy tops. - Add eggs
Let the mixture cool slightly—just so you don’t scramble your eggs—then add the eggs and yolk one at a time, whisking well after each. - Mix in dry ingredients
Stir in cocoa powder and gluten-free flour. A rubber spatula is perfect for this job. Don’t overmix, just fold until combined. - Bake
Pour the thick, glossy batter into a greased or foil-lined 9×9 metal pan. Bake at 350°F (175°C) for 30–35 minutes. A toothpick should come out with moist crumbs, not clean. - Cool completely
I know it’s hard, but let them cool before slicing. You’ll get cleaner squares, and the texture settles perfectly as they rest.

A Few Tips I’ve Learned the Hard Way
- Use a metal pan if you can – I’ve tried glass, and while it works, the brownies take longer and cook less evenly. Light-colored metal pans give the best results.
- Line the pan with foil – It makes lifting and slicing so much easier. Just lift the whole thing out and slice cleanly on a cutting board.
- Whisk while warm – Getting the sugar to dissolve into the warm chocolate gives that shiny, bakery-style finish.
- Don’t skip the salt – Even in sweet baking, salt matters. It deepens the chocolate flavor and balances the sweetness.
How I Serve These (Hint: Warm is Best)
These brownies are rich, so I usually serve them in smaller squares—especially if I’m adding anything on top.
- A scoop of vanilla ice cream and a drizzle of chocolate sauce makes these dinner-party worthy.
- For kids’ lunchboxes or school events, I cut them into bite-sized squares and sprinkle a few with powdered sugar.
- I’ve even served them with a pinch of flaky sea salt on top. That sweet-salty combo is a game changer.
Keeping Brownies Fresh (Or Freezing for Later)
Once cooled, I pop them into an airtight container and leave them at room temperature for up to 4 days. But to be honest, they rarely last that long.
If I need to make them ahead, I wrap individual squares in plastic wrap, stash them in a freezer bag, and freeze them. A quick 15–20 seconds in the microwave brings them right back to their fudgy glory.
Common Questions I’ve Gotten
Can I make these dairy-free?
This specific version really depends on butter for texture and flavor. I’ve tried subbing vegan alternatives, and they don’t bake quite the same. If you need dairy-free, try a dedicated recipe for that—it’s more reliable.
Do I need to use chocolate chips or can I just use cocoa powder?
You need both for the right balance of fudgy texture and chocolate depth. The chips give richness and help with that shiny crust.
What’s the best flour brand for this?
I’ve had great results with King Arthur and Bob’s Red Mill 1:1 Baking Flour. Just make sure it includes xanthan gum.
Can I double the recipe?
Yes! Just use a 9×13 pan and add a few extra minutes to the baking time—check around the 35–40 minute mark.
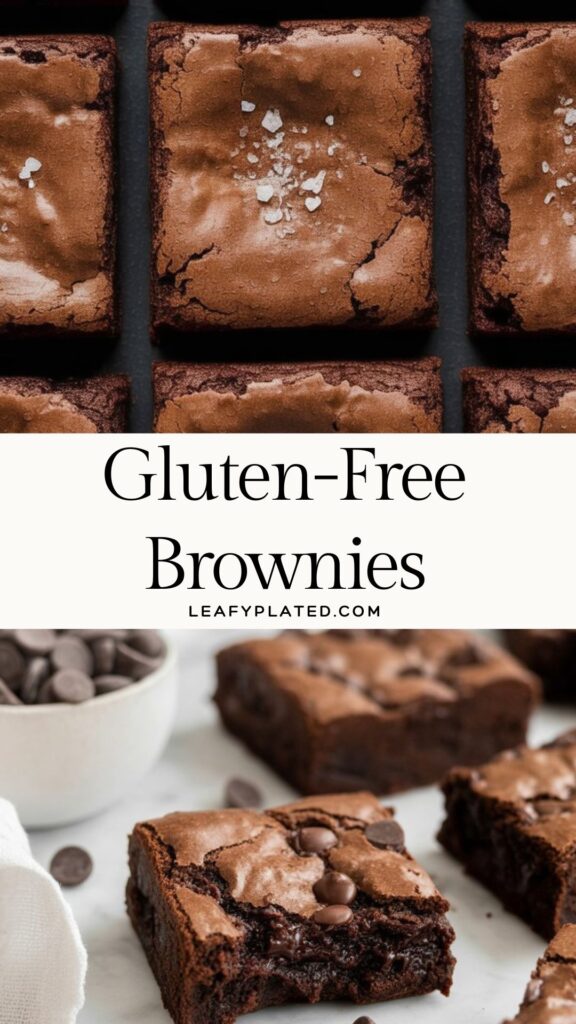
Gluten-Free Brownies
If you're on the hunt for that perfect gluten-free brownie — rich, chewy, and loaded with chocolate — this one’s going to steal your heart. I’ve tweaked and tested this recipe more times than I can count to get that shiny crackly top, soft centre, and deep chocolate flavour. No one will ever guess they’re gluten-free!
Ingredients
- ¾ cup (115g) gluten-free 1:1 baking flour (with xanthan gum)
- 10 tablespoons (140g) salted butter, cut into chunks
- 1 cup semi-sweet chocolate chips (to mix in later)
- ½ cup (85g) semi-sweet chocolate chips (for melting)
- ¾ cup (150g) granulated sugar
- ½ cup (105g) brown sugar
- 2 large eggs + 1 egg yolk
- ⅓ cup (25g) unsweetened cocoa powder
- 1 teaspoon vanilla extract
- ½ teaspoon salt
- ½ teaspoon espresso powder (optional — but highly recommended)
Instructions
- Start by preheating your oven to 350°F (175°C). Lightly grease a 9×9 metal baking pan — I prefer light-coloured metal for the best texture, but glass works in a pinch.
- In a large microwave-safe bowl, combine the butter and ½ cup chocolate chips. Microwave for 30 seconds, stir well, then microwave in 15-second intervals until smooth and glossy. You want the mixture warm, even a little hot.
- Whisk in both sugars while the mixture is still warm — this helps them melt slightly and gives the brownies that glossy top. Once smooth, whisk in the eggs and yolk, one at a time, mixing well after each addition. Stir in the vanilla, salt, and espresso powder.
- Switch to a spatula and fold in the cocoa powder and gluten-free flour until no streaks remain. Toss in the remaining 1 cup of chocolate chips and mix until just combined.
- Pour the thick batter into your prepared pan and spread it out evenly. Bake for 30–35 minutes, or until the edges are set and a toothpick inserted in the centre comes out with just a few moist crumbs.
- Let them cool for at least 30 minutes before slicing — the hardest part, I know! But totally worth it for clean edges and that rich, fudgy bite.
Notes
- Pan choice matters: A metal pan gives you crisp edges and even baking. Glass pans tend to take longer and can bake less evenly.
- Flour makes a difference: Make sure your gluten-free flour contains xanthan gum for structure and chew.
- Espresso powder? Yes, please: It won’t make the brownies taste like coffee — it just deepens the chocolate flavor beautifully.
- Don’t skip the chocolate chips: That final stir-in adds melty pockets of goodness in every bite.
Nutrition Information
Yield
12Serving Size
1Amount Per Serving Calories 221Total Fat 16gSaturated Fat 9gTrans Fat 0gUnsaturated Fat 5gCholesterol 72mgSodium 179mgCarbohydrates 19gFiber 1gSugar 9gProtein 3g
Leafyplated.com, occasionally offers nutritional information for recipes contained on this site. This information is provided as a courtesy and is an estimate only. This information comes from online calculators. Although Leafyplated.com attempts to provide accurate nutritional information, these figures are only estimates.
Try Other Recipe :
")