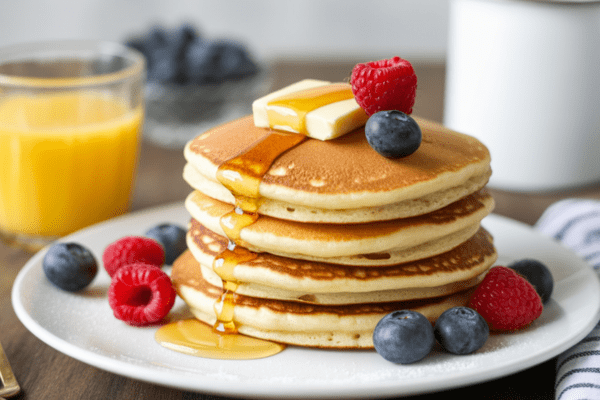
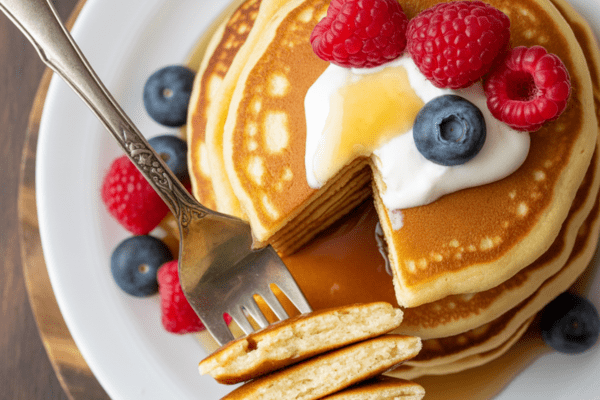
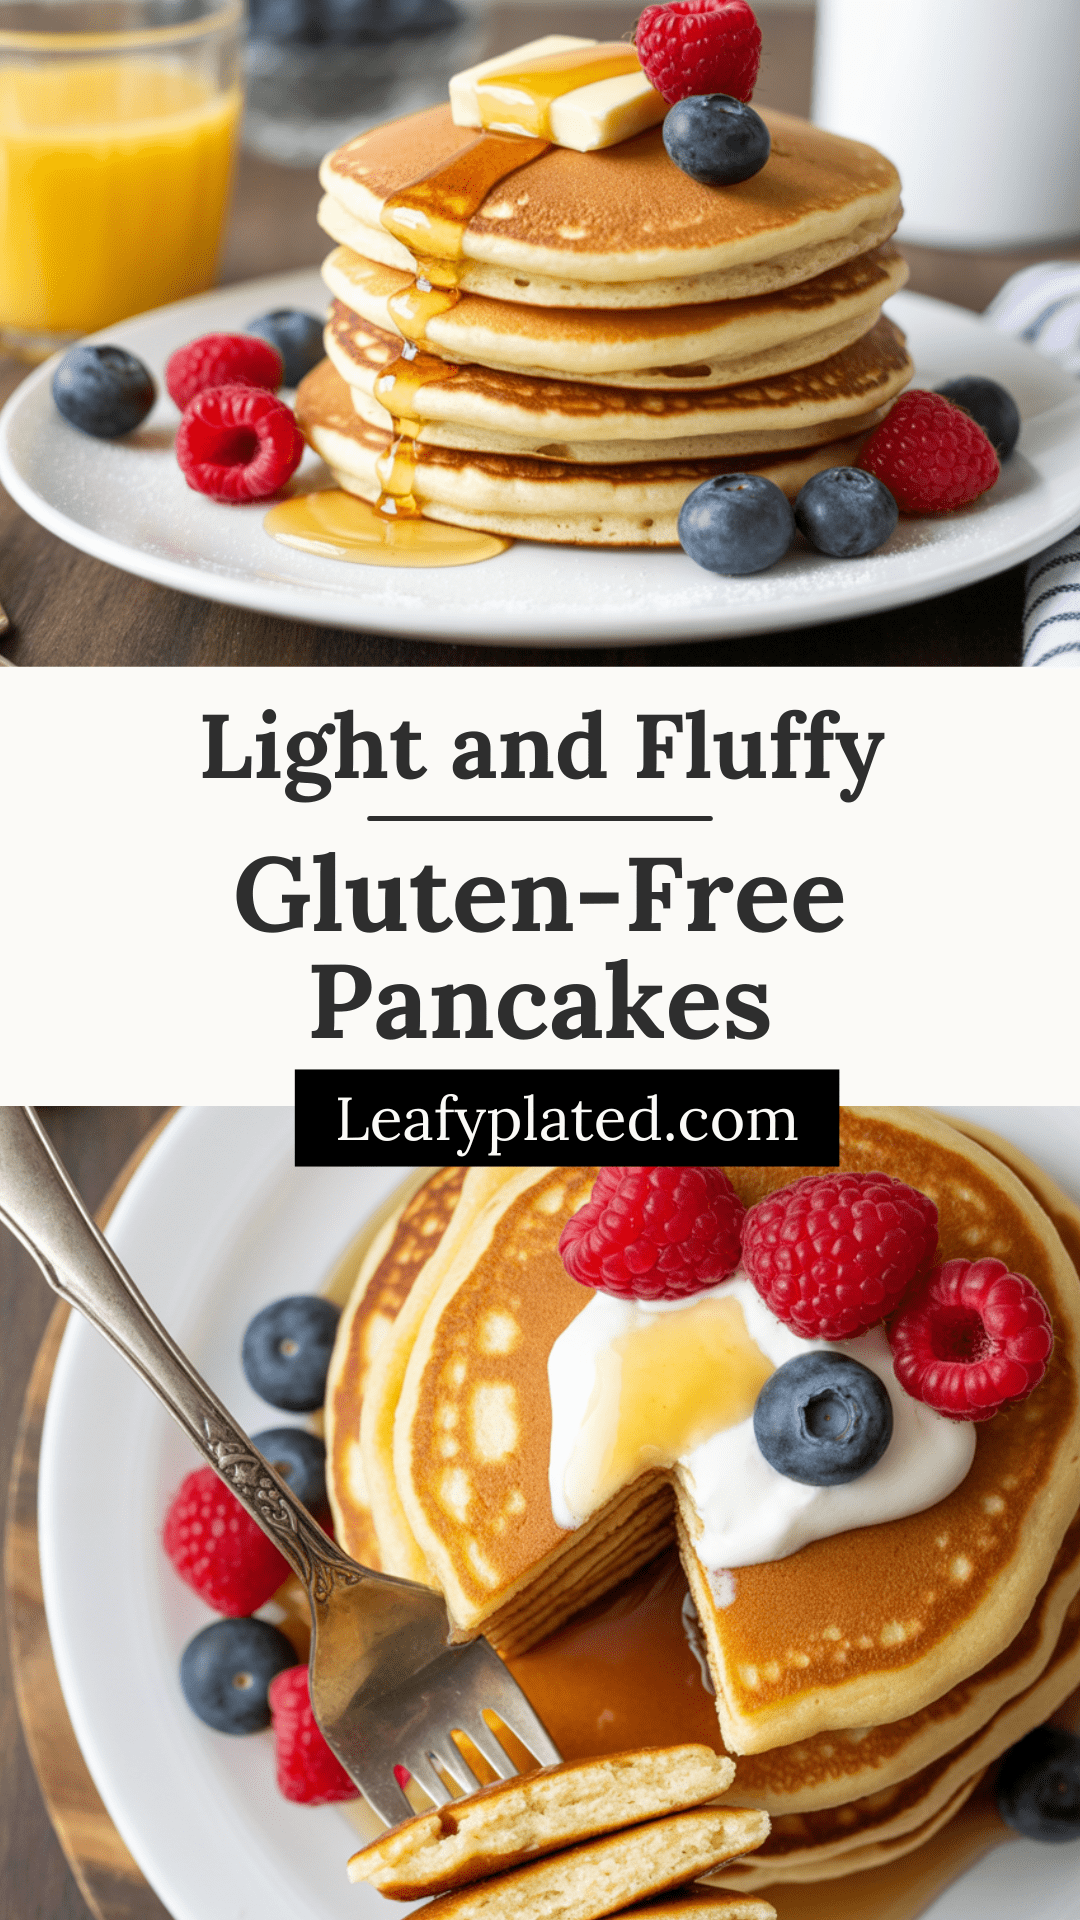
These pancakes are everything you want in a weekend breakfast: thick, light, and perfectly fluffy without any gluten. You don’t need anything fancy—just a bowl, a whisk, and a hot griddle or pan. I make these so often my family knows the smell means Saturday is officially special.

If you’ve missed real diner-style pancakes since going gluten free, you’re going to love these. They’re so good you might even make them for dinner—I do it all the time.
Why These Pancakes Are a Favorite at My Place
I can’t count how many times these have saved dinner when the kids refuse everything else. Pancakes for dinner? Always a yes.
They’re the kind that stack up tall, soak up butter and syrup beautifully, and stay tender inside. Even my non-gluten-free friends happily dig in without complaining.
One thing I love: they’re quick. The batter comes together fast with ingredients I always have on hand. And you can dress them up with anything—fruit, nuts, chocolate chips, you name it.
What You’ll Need From Your Pantry
Here’s what I grab before getting started:
- Gluten-free baking flour blend: The type that says “1-to-1” or “measure-for-measure.” It already has a binder like xanthan gum, so you get structure without weird grittiness.
- Granulated sugar: Just enough to sweeten things gently.
- Baking powder: I use an aluminum-free one. Fresh is best—old baking powder can give you flat, sad pancakes.
- Milk: Anything you drink works. I often use unsweetened almond milk, but cow’s milk browns beautifully.
- Egg: It really helps with fluffiness. I’ve tried replacers—they work, but the texture gets a bit denser or gummy if you’re pan-frying.
- Butter: For that golden, crisp edge.
- Vanilla extract: This is the magic that makes the kitchen smell like a bakery.
My tip? Don’t overthink it. This is a forgiving batter.
A Note on Choosing the Right Gluten-Free Flour
I’ve tried a bunch of blends over the years. King Arthur and Bob’s Red Mill both work well for me. As long as it’s a “measure-for-measure” type that already includes xanthan gum, you’re good.
Single flours like almond or coconut just don’t work the same way. Trust me—I’ve ended up with gummy, flat discs more than once before figuring that out.

How I Get That Perfect Diner-Style Golden Top
I’m a big fan of the electric griddle for weekday mornings—it heats evenly and lets me crank out batches quickly.
But if you want that perfect, golden-brown, slightly crisp top like you get at diners? Use a well-seasoned cast iron skillet.
Here’s my way:
- Preheat your skillet over medium to medium-low. Cast iron holds heat so well you don’t need it blasting hot.
- Brush with melted butter or use nonstick spray.
- Pour in about 1/4 cup of batter. Wait until bubbles form and pop on top—don’t rush this part.
- Peek underneath to see if it’s golden brown. If it is, flip and finish the other side.
It’s one of those simple pleasures—seeing that perfect golden pancake in the pan.
Soumyadip’s Best Pancake Cooking Tips
I’ve burned or undercooked my share of pancakes over the years. These little things help me get them right:
- Adjust the milk: Gluten-free flour blends vary. If the batter’s too thick, add a splash of milk. If it’s runny, add a spoonful of flour.
- Let the batter rest: About 5–10 minutes helps hydrate the flour. This cuts down on any grit and gives a smoother pancake.
- Preheat well: Whether it’s a griddle or skillet, make sure it’s hot enough before you start. I aim for medium-low on cast iron to avoid scorching.
- Eat them hot: Gluten-free pancakes are best fresh off the pan. They can sink and toughen as they sit.
Make-Your-Own Pancake Mix
I’m a big batch prepper whenever I can be.
If you want weekend pancakes to be even easier, you can mix up the dry ingredients in advance and store them in baggies or an airtight container.
Here’s my ratio:
- For one batch: Combine 1 cup + 3 tablespoons of the dry mix with the usual wet ingredients.
- Adjust milk as needed to get that classic pancake batter consistency.
Perfect for sleepy Sunday mornings when you don’t want to measure everything from scratch.
Step-by-Step: My Way to Make Them
Here’s how I do it every time:
Mix the dry ingredients: Gluten-free flour blend, sugar, baking powder, and a pinch of salt go in a bowl. Whisk to blend evenly.
Combine the wet ingredients: In another bowl, I mix milk, egg, melted butter, and vanilla.
Bring it all together: Pour the wet into the dry and whisk until combined. I let it rest for about 5 minutes while the pan heats.
Cook: On my griddle or in cast iron, lightly greased, I pour about 1/4 cup batter per pancake. Wait for the bubbles to form and pop before flipping. Cook until both sides are that lovely golden brown.
I always do a little happy dance with the first perfect flip.
Favorite Mix-Ins and Toppings
We’re big on toppings here. My kids will boycott plain pancakes if I don’t jazz them up.
Here are our go-tos:
- Classic: Blueberries or mini chocolate chips mixed right into the batter.
- Tropical: Diced mango with shredded coconut on top. Feels like a little escape.
- Autumn vibes: Chopped apples with cinnamon in the batter.
- Protein boost: Greek yogurt, nut butter, and fresh berries.
- Decadent: Whipped cream, sliced bananas, toasted pecans.
- Homemade syrup: Butter-pecan syrup is my personal favorite.
Honestly, pancakes are the perfect canvas.
Keeping Pancakes Warm for the Table
If I’m feeding a crowd, I line a baking sheet with parchment and keep pancakes in a warm oven (around 150–200 degrees) for 10–20 minutes.
Longer than that, they can dry out or lose their puff, so I try to serve them as fresh as possible.
Freezing for Later
I freeze extra pancakes all the time.
- Lay them on a parchment-lined baking sheet in the freezer until solid.
- Then transfer them to a freezer-safe bag.
They’ll keep for about 2 months.
To reheat: I use the microwave at half power or pop them in the toaster oven to keep them from getting rubbery.
Syrup Talk
One last thing.
If you’ve only used “pancake syrup” (which is basically corn syrup with coloring), try switching to real maple syrup.
It’s worth it. Even the big jugs at the wholesale club are reasonably priced these days, and the taste difference is huge.

Let’s Get Cooking
That’s it. My tried-and-true gluten-free pancakes.
These have been a weeknight dinner savior, a weekend breakfast treat, and a reliable way to keep everyone smiling at the table.
Get your griddle hot and give them a try—I promise you’ll want to make them again and again.
Gluten-Free Pancakes

These Easy Gluten Free Pancakes are everything you want in a breakfast staple—light, fluffy, and made entirely from pantry and fridge staples.
Ingredients
- 1 cup gluten free baking flour blend WITH binder, see notes
- 2 tablespoons granulated sugar
- 2 teaspoons aluminum free baking powder, Bob's Red Mill recommended
- small pinch of salt
- 1 scant cup milk, any kind, I use unsweetened almond milk
- 1 large egg
- 2 tablespoons melted butter or vegan butter, plus more for brushing, optional
- 1 teaspoon vanilla extract
Instructions
- In a medium mixing bowl, whisk together the gluten free flour, sugar, baking powder, and salt. In a separate smaller bowl, whisk together the milk, egg, melted butter, and vanilla extract.
- Pour the wet mixture into the dry ingredients and whisk until smooth. Let the batter rest for about 5 minutes.
- While the batter rests, preheat a large cast iron skillet over medium-low heat, or an electric griddle set to medium. Lightly grease with nonstick spray or a brush of melted butter.
- Scoop 1/4 cup of batter onto the heated surface. When bubbles begin to form and pop on top, and the edges look set, flip and cook until golden brown on the other side.
- Serve right away, or place the pancakes on a parchment-lined baking sheet and keep warm in an oven on the “warming” setting (around 100–200°F) for up to 20 minutes.
- Preheat oven to 350°F and line a quarter sheet pan with parchment paper. Pour the batter in, tilting the pan to spread it evenly. Bake for 15–17 minutes or until cooked through. Slice into squares and serve.
Notes
- Make sure your flour blend includes a binder like xanthan gum.
- This recipe won’t work with single flours like almond or coconut flour that don’t contain binders.
Nutrition Information
Yield
6Serving Size
1Amount Per Serving Calories 185Total Fat 8gSaturated Fat 4gTrans Fat 1gUnsaturated Fat 4gCholesterol 44mgSodium 277mgCarbohydrates 23gFiber 1gSugar 6gProtein 5g
Leafyplated.com, occasionally offers nutritional information for recipes contained on this site. This information is provided as a courtesy and is an estimate only. This information comes from online calculators. Although Leafyplated.com attempts to provide accurate nutritional information, these figures are only estimates.

